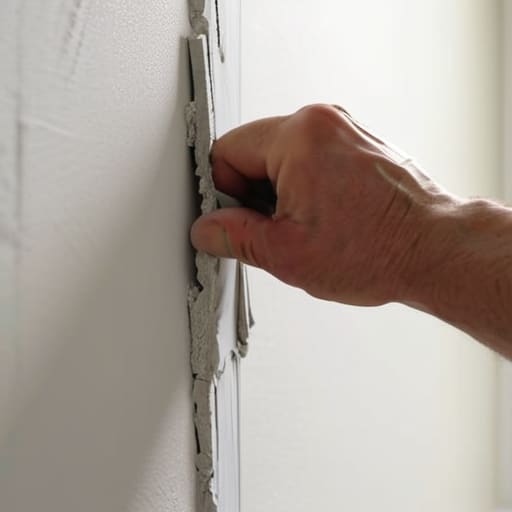
I was in the middle of setting the table for a lively taco night—think vibrant salsas, hand-pressed tortillas, and plenty of laughter—when I caught sight of it: a jagged, ugly crater in the hallway wall right where the light hits perfectly. It felt like a sudden, uninvited guest crashing my carefully curated dinner party. Most people will tell you that learning how to repair a dry wall hole requires a professional contractor or a terrifyingly expensive toolkit, but honestly? That’s a total myth. Just like perfecting a delicate soufflé, it isn’t about having the fanciest equipment; it’s about having the right technique and a little bit of patience to ensure the finish is absolutely seamless.
In this guide, I’m stripping away the intimidation factor and giving you the real, no-nonsense scoop on getting your home back to hosting-ready perfection. I’ll walk you through every step, from choosing your “ingredients” to the final sanding, ensuring you can fix those unsightly marks without any unnecessary stress. Whether it’s a tiny nick from a moving chair or a larger gap, we’re going to make it disappear so you can get back to what really matters: creating beautiful memories in a space that feels whole again.
Guide Overview
Tools & Supplies
- Putty knife for applying compound
- Sanding block for smoothing surfaces
- Utility knife for trimming loose edges
- Spackling or joint compound (small tub)
- Drywall patch or mesh tape (1 patch)
- Sandpaper (medium and fine grit)
- Touch-up paint (1 small can)
Step-by-Step Instructions
- 1. First things first, we need to clear the stage! Just like clearing your countertop before a big prep session, grab a utility knife and gently trim away any loose, jagged pieces of drywall around the hole. You want a clean, stable edge so your patch has something solid to cling to rather than trying to stick to crumbling debris.
- 2. Once the area is tidy, it’s time to choose your “secret ingredient” based on the size of the mishap. For those tiny little nicks—the kind you might get from moving a heavy chair during a lively dinner party—a simple bit of lightweight spackle will do the trick. However, if we’re talking about a larger crater, you’ll want to grab a self-adhesive mesh patch to act as the structural foundation for your repair.
- 3. Now, let’s get to work with the application. If you’re using a patch, center it over the hole and press it firmly into place. Take your putty knife (I like to call mine ‘Jacques’) and spread a thin layer of joint compound over the patch. The trick here is to feather the edges outward, making the compound get thinner and thinner as you move away from the center, so it blends seamlessly into the surrounding wall.
- 4. Patience is the most important ingredient in any recipe, and drywall is no different! Let the compound dry completely according to the package instructions. If you try to rush this, you’ll end up with cracks that are just as noticeable as the original hole. I always tell my clients that great things take time, especially when you’re aiming for perfection.
- 5. Once everything is bone-dry, it’s time for a little bit of “seasoning” with some sandpaper. Use a fine-grit sanding sponge to gently buff the area until it feels as smooth as a silk tablecloth. You’re looking for a surface that is perfectly flush with the rest of the wall; if you run your hand over it and feel a bump, it’s time to sand a little more.
- 6. Before we bring out the color, we have to prep the surface for its new “coat.” Wipe away any lingering white dust with a slightly damp microfiber cloth. If you skip this, your paint might not adhere properly, much like trying to glaze a cake that’s still covered in flour dust.
- 7. Finally, it’s time for the grand reveal: painting! Dab a little bit of your wall paint onto a small sponge or a brush, and use a stippling motion to mimic the texture of the surrounding wall. This ensures the repaired spot doesn’t look like a shiny, flat patch, but rather a natural part of your beautiful, lived-in home.
Gathering Your Wall Repair Tools and Materials for Success
Now, while you’re getting your hands a little messy with the compound, don’t feel like you have to tackle this whole home-refreshing journey in total isolation. I always say that just like a complex sauce needs a bit of seasoning, a DIY project feels so much more rewarding when you have a little inspiration to lean on. If you ever find yourself craving more ideas for turning your house into a true sanctuary for hosting, I highly recommend checking out this community; it’s a wonderful place to find fresh perspectives and connect with others who share that same passion for creating a beautiful, welcoming home. It’s honestly been such a game-changer for my own creative process whenever I’m prepping a space for a big dinner party!
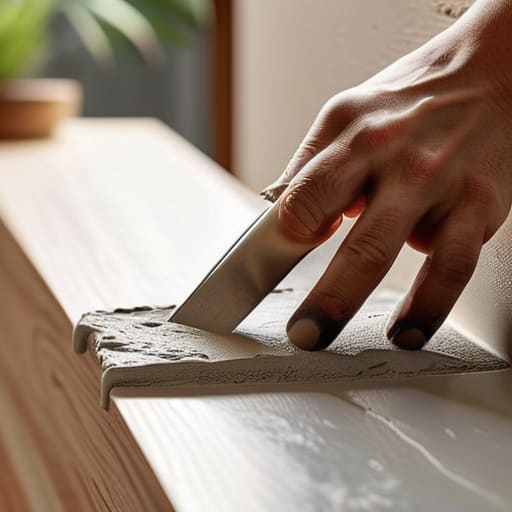
Before we dive into the heavy lifting, let’s talk about setting the stage. Just like I wouldn’t dream of hosting a dinner party without my mise en place, you shouldn’t tackle a repair without having all your wall repair tools and materials laid out and ready to go. There is nothing quite as frustrating as being halfway through a job and realizing you’re missing a crucial spatula or, heaven forbid, the right kind of sandpaper! If you’re just dealing with a tiny nick from a stray chair leg, a simple drywall patch kit for small holes is your best friend—it’s basically the “cheat code” of the DIY world.
However, if you’re facing a more significant mishap—maybe a door handle decided to make an uninvited appearance in your wall—you’ll want to gear up for fixing large holes in drywall with a bit more intention. You’ll need a sturdy putty knife, some mesh tape, and a reliable bucket. I always tell my clients that choosing the best joint compound for wall repairs is like picking the right base for a sauce; if the foundation isn’t high quality, the final presentation just won’t shine. Grab a coffee, clear your workspace, and let’s get prepared!
Mastering the Best Joint Compound for Wall Repairs
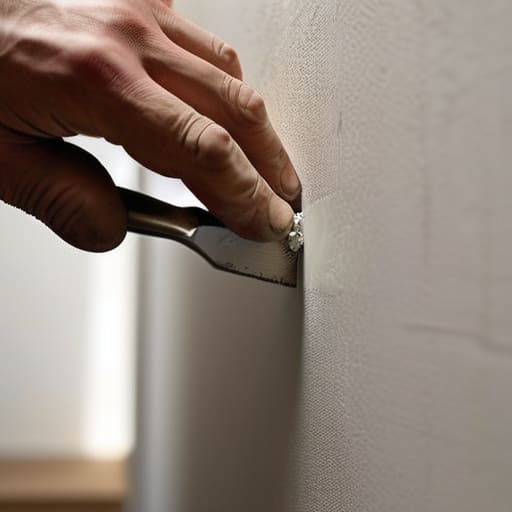
Think of selecting your joint compound like choosing the perfect base for a delicate soufflé—the texture and consistency make all the difference in the final presentation. If you’re just dealing with a little nick from a moving chair, a simple drywall patch kit for small holes can be your best friend, acting like a quick seasoning to fix a minor flaw. However, if you’re tackling something more substantial, you’ll want to look for a high-quality setting compound. It might feel a bit more intimidating than the pre-mixed stuff, but it dries much harder and is far less likely to shrink, which is a total lifesaver when you’re fixing large holes in drywall.
When you’re working with the compound, remember that patience is your most important ingredient. I always tell my clients that rushing the drying process is like trying to host a dinner party before the guests have even arrived—it just leads to a mess! Once everything is bone-dry, the real magic happens during the finishing stage. Learning how to sand drywall smooth is where you truly transform a repair into a seamless part of your home’s decor, ensuring the surface is as flawless as a freshly set banquet table.
Pro-Tips from My Toolkit: Small Secrets for a Flawless Finish
- Think of your sanding process like whisking a delicate meringue—you want to be gentle and steady! If you go too heavy-handed with the sandpaper, you’ll end up sanding down the good parts of your wall instead of just smoothing out the patch.
- Don’t be tempted to do it all in one go. Just like I wouldn’t try to bake a complex soufflé in one giant scoop, applying too much joint compound at once leads to cracking. It’s much better to apply thin, manageable layers and let them dry between each one.
- Lighting is your best friend, or your worst enemy! Grab a bright flashlight or a work lamp and shine it across the wall at an angle. This “raking light” will reveal tiny bumps or divots that you might miss under normal overhead lighting, ensuring your repair is truly invisible.
- If you’re dealing with a hole that’s a bit larger than a rogue grape, don’t just rely on the compound. Use a mesh patch to give your “recipe” some structure. It acts like the flour in a cake, providing the necessary foundation so the repair doesn’t sag or fail later on.
- Always keep a clean, damp cloth nearby. Between layers, I like to lightly wipe away any stray dust or grit. A clean surface is the secret to making sure your new layer of compound bonds perfectly with the old, preventing that dreaded peeling effect.
Setting the Stage for Your Next Celebration
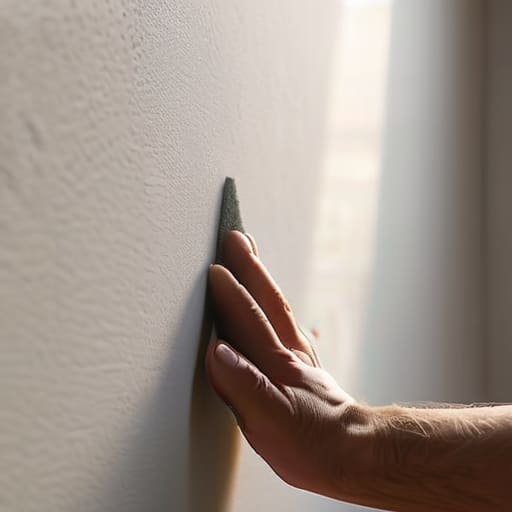
Now that you’ve navigated the messy bits—from selecting that perfect joint compound to carefully applying it like a delicate glaze on a pastry—you are officially ready to cross the finish line. Remember, the secret to a flawless repair lies in the patience of your sanding technique and ensuring your surface is as smooth as a well-emulsified sauce. By taking the time to prep your tools properly and mastering those layers, you haven’t just fixed a hole; you’ve meticulously restored the canvas of your home. Once that final coat of paint is dry, that little imperfection will vanish, leaving behind a seamless backdrop that is ready for any guest to admire.
At the end of the day, our homes are much like our favorite recipes: they might collect a few bumps and bruises along the way, but it’s the care we put into mending them that makes the space feel truly lived-in and loved. Think of this little project as a bit of “kitchen prep” for your life; you’re clearing away the distractions so you can focus on what really matters—the laughter, the shared plates, and the beautiful stories told around your table. So, wipe off that dust, grab a glass of wine, and get ready to host with absolute confidence, knowing your sanctuary is once again perfect for making memories.